
Main Sequence Tips: 12 Rules That Save Materials
Twelve practical Main Sequence tips for new factory builders: power headroom, belt discipline, drone bays, dock filters, and when not to expand.
Main Sequence is generous with space and stingy with attention. A station can look busy while nothing is actually moving, and a ship can look impressive while it cannot turn. The following rules are the ones that survived contact with the demo's economy. They are ordered roughly by how much pain they prevent, not by how clever they sound.
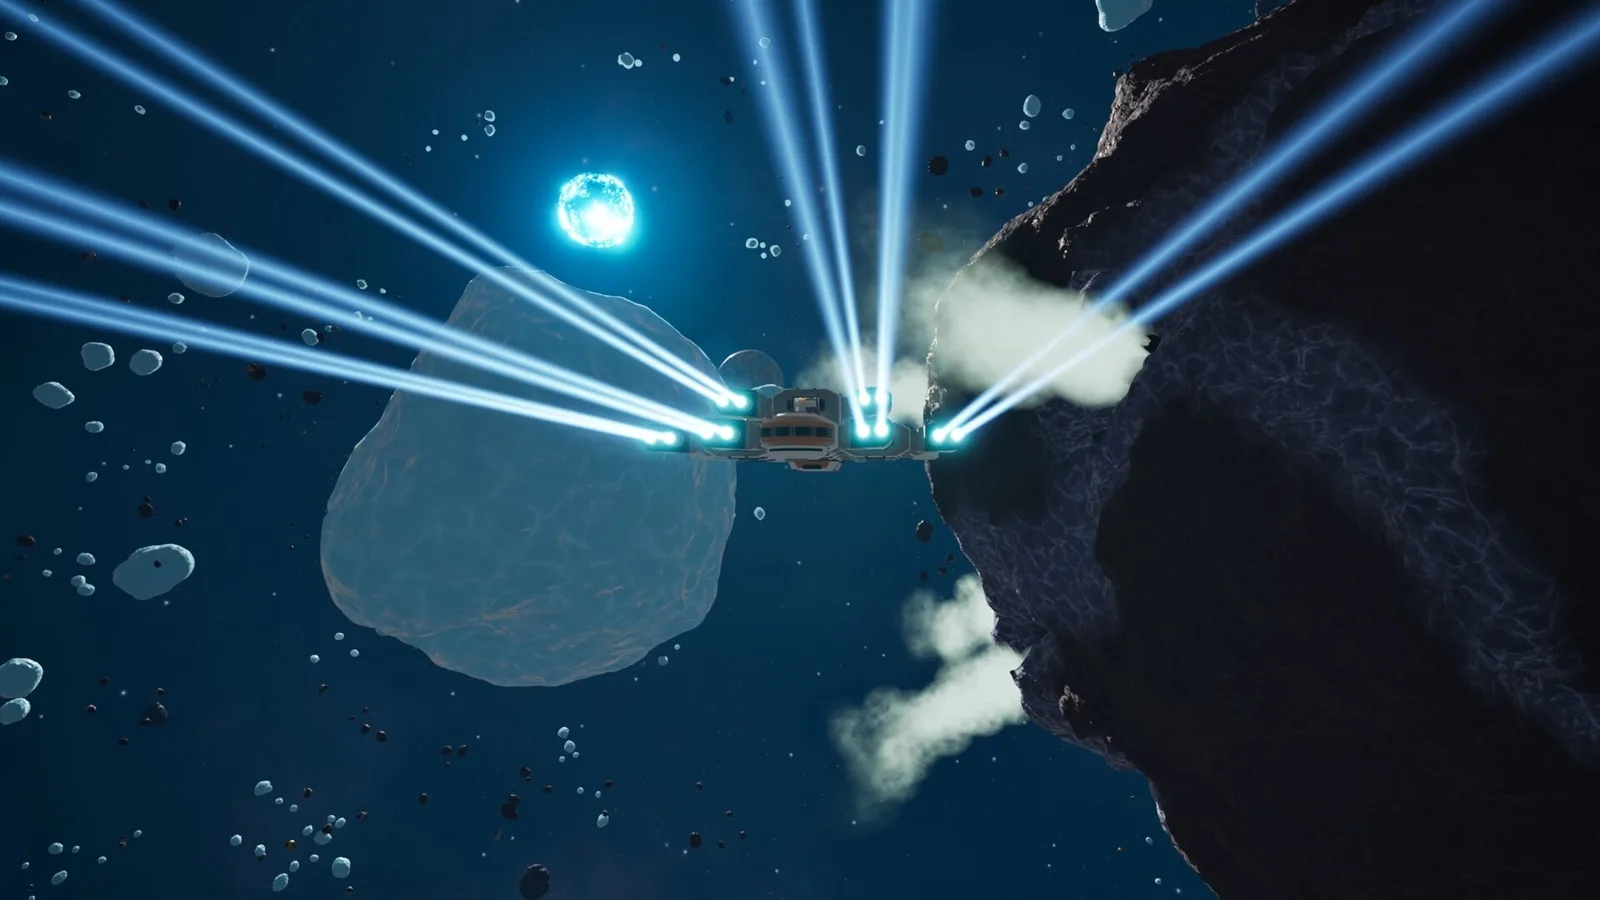
Keep 30% power headroom, one refinery per ore, and a dedicated dock for every cargo.
1. Build the power block before the production block
Every machine has a draw, and the station does not buffer much. When demand exceeds supply, the whole base enters an emergency state and runs slower. A refinery at 4.5 MW plus an assembler at 6 MW fits under one 12 MW solar panel with 1.5 MW left. Add a second assembler and you are at 16.5 MW, which does not fit, even though the game lets you place it.
Leave 30 percent headroom on every station. If you are about to add a 12 MW lab to a 30 MW load, add generation first. The cost of a solar panel is easier to pay than the cost of debugging a base that half-works.
2. One refinery per ore type beats one refinery per line
The refinery processes one recipe at a time. If you feed it nickel, titanium, and silica from the same belt, you will spend most of your time switching recipes and wondering why plates are scarce. Give each high-volume ore its own refinery, or dedicate a refinery to plates and a second one to silica products.
Two refineries at 4.5 MW each are cheaper than an advanced assembler and solve more early problems. The exception is a rare ore you use in small amounts; one shared refinery is fine there.
3. Do not build a belt bus before you have a bottleneck
Factorio instincts say “main bus.” Main Sequence's early modules are compact and its belts are short. A bus is useful when you have twelve consumers pulling from a shared spine. In the first station, a bus is mostly empty floor and extra belt segments.
Build cells instead: one production block, one input container, one output container, one belt between them. When a cell becomes a bottleneck, merge two cells. The station stays readable, and you can tear down one cell without touching the rest.
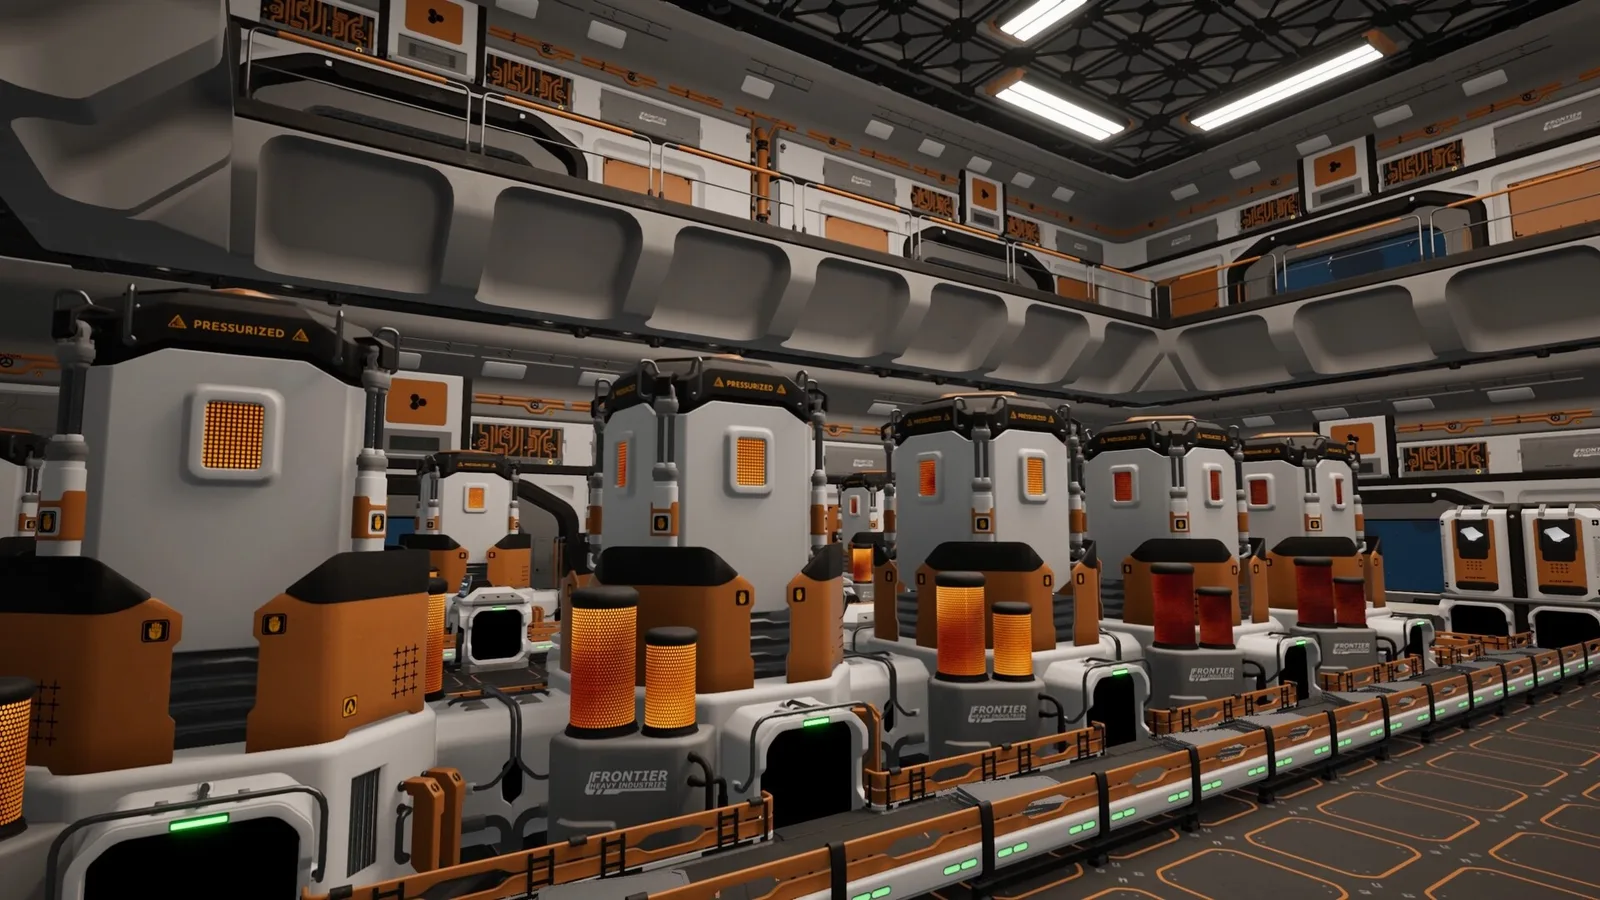
4. Put the dock where the ship actually parks
The dock has two conveyor ports. If you place it on the far side of the station from your storage, every delivery is a belt run across the entire base. Place the dock first, then build production around it. The same applies to the Industrial Dock: eight ports are useless if six of them face a wall.
A good layout puts the dock adjacent to raw input storage and the shipyard adjacent to the finished-goods storage. Your ship should never have to fly around the station to find the right port.
5. Mining drones are throughput, not decoration
A Mining Drone Bay Mk.1 costs 10 Hull Plates, 10 Lightweight Frames, and 10 Magnetic Coils, draws 6 MW, and operates two drones out to 1,000 metres. That is eight times the range of your ship's mining laser and it works while you are building.
The catch is that drones need a place to put ore. If the bay's output belt is full or unconnected, the drones stop. Connect the bay to a container before you connect it to a refinery, and give the refinery a dedicated input so drone ore does not compete with manual deliveries.

6. Use beacons to turn mining into a background task
A Mining Beacon costs 10 Lightweight Frames and 10 Nickel Plates and lets a ship mine automatically. It is the difference between “I need to go mining again” and “the hauler is already full.” Place beacons on the richest rocks you are not currently using, and keep one ship assigned to each beacon.
Beacons do not replace a drone bay; they complement it. Drones work close to the station, while a beacon ship can work a distant field and return on its own. The two systems together are what make a station feel alive.
7. Filter every dock before you trust it
Docks and drone bays can filter cargo by item. The 21 October hotfix specifically fixed the “No item” filter option, which tells you how easy it was to configure a dock that silently refused to unload. Set the filter on the dock side, not just the ship side: a dock configured to unload only nickel plates will ignore the titanium you desperately need.
The safe pattern is one dock for raw ore, one for plates, and one for science items. If you must share, set the filter to the highest-volume item and move everything else by a second route.
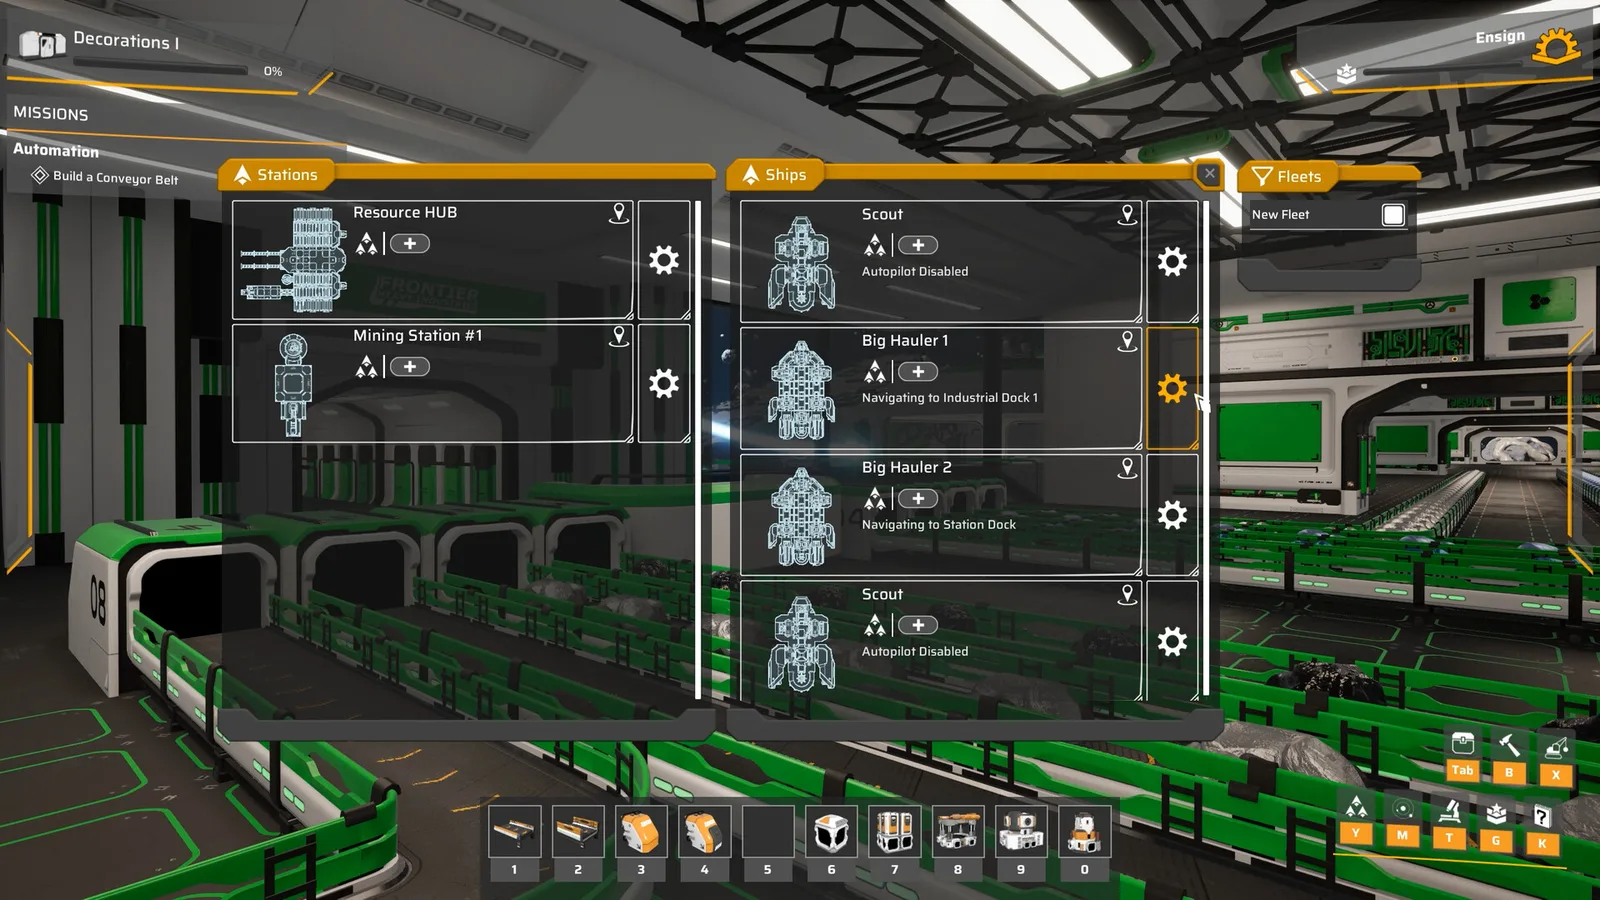
8. Blueprint before you warp
The game lets you save and share ship and station designs. A blueprint is not just a convenience; it is insurance. If a ship is destroyed or a station module is deleted, a blueprint lets you rebuild the shape without re-deriving every module.
Save a blueprint of your first working miner and your first working station block. Label them with the game version, because module costs and stats can change between patches. A blueprint that no longer builds is worse than no blueprint, because it hides the problem until you are under attack.
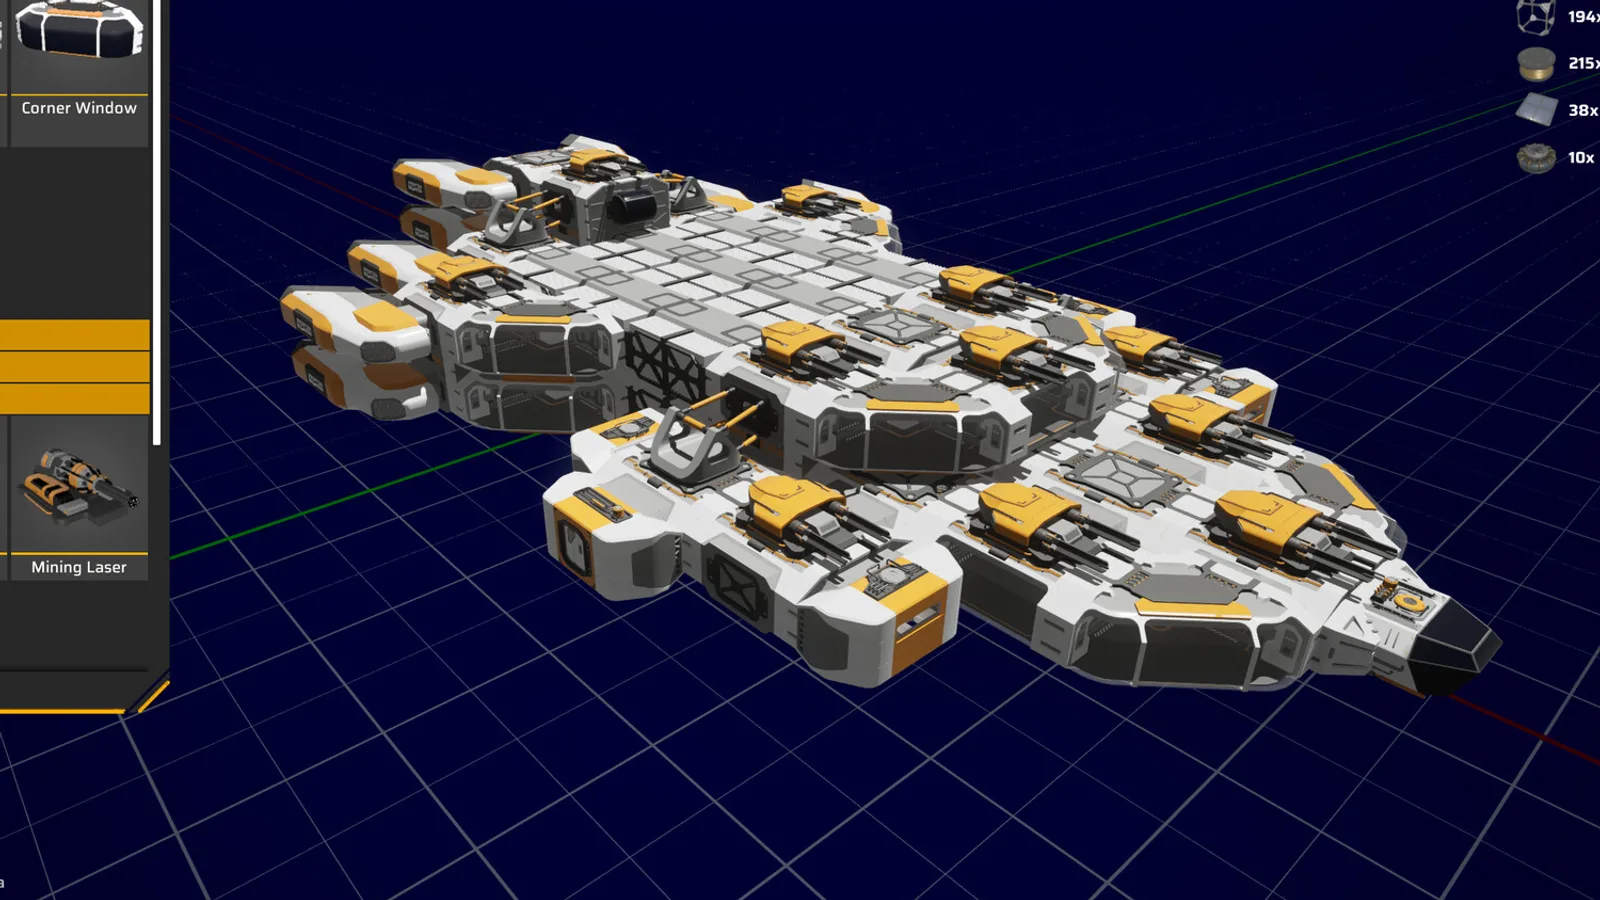
9. Thrust is not speed, and mass is not armour
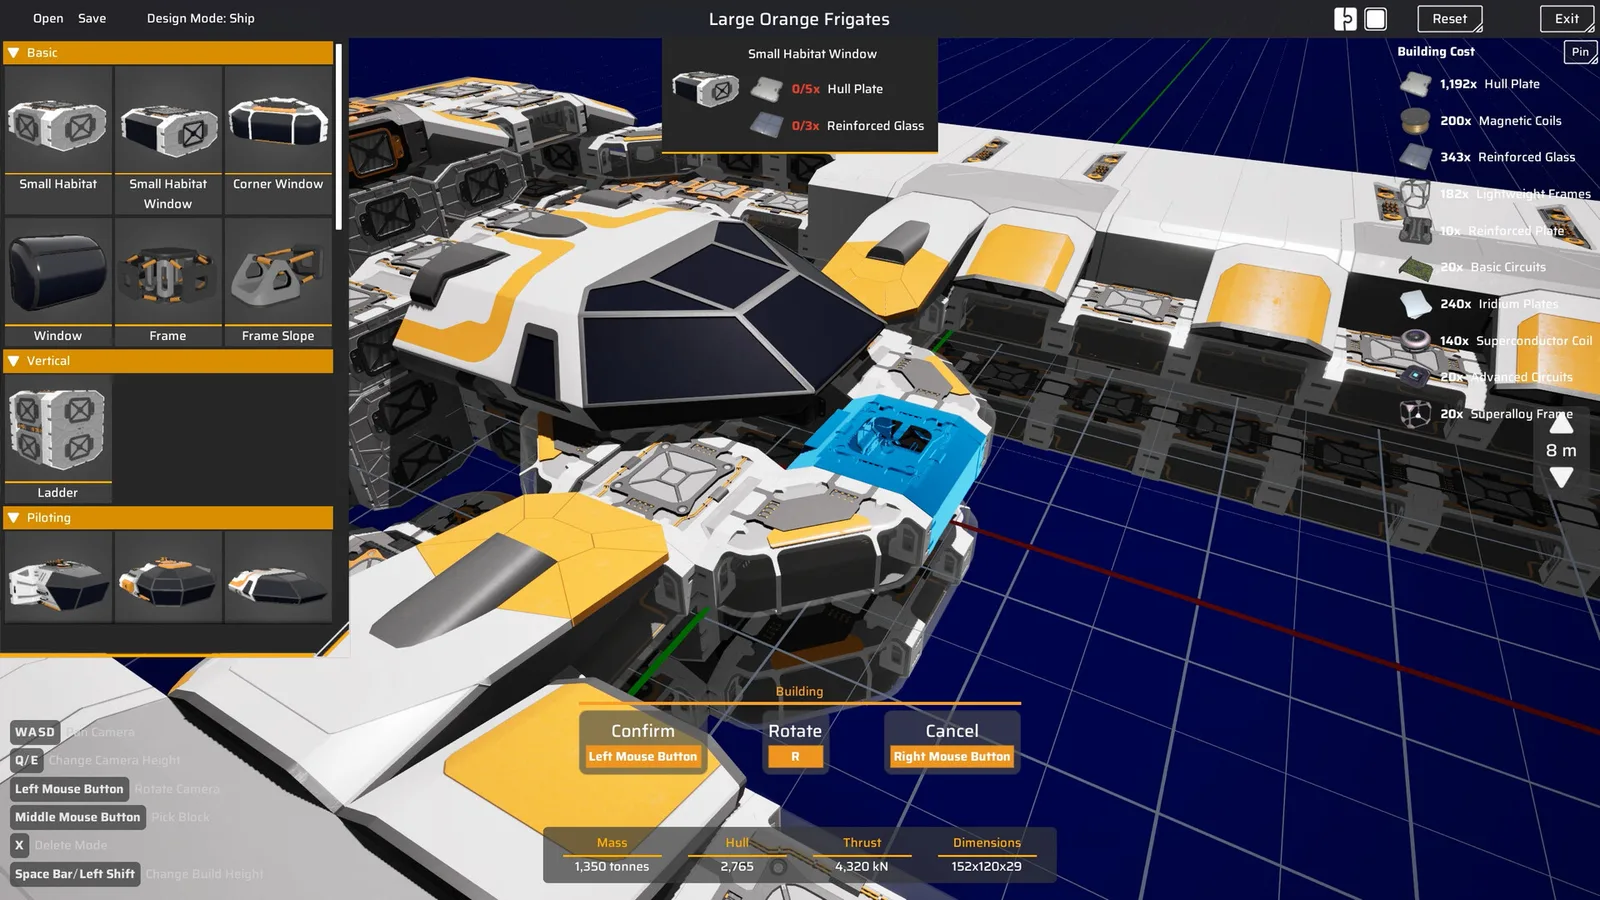
Ship design in Main Sequence exposes mass, hull, thrust, and dimensions. A hull with 1,350 tonnes and 4,320 kN of thrust is not automatically fast; acceleration depends on the ratio, and turning depends on where the thrusters sit. A long ship with all engines at the rear will drift through turns.
Put at least one manoeuvring thruster near the nose, keep the reactor close to the engines, and test-fly before you add weapons. A ship that cannot line up a mining laser is a ship that cannot mine.
10. Do not research the next tier to escape a shortage
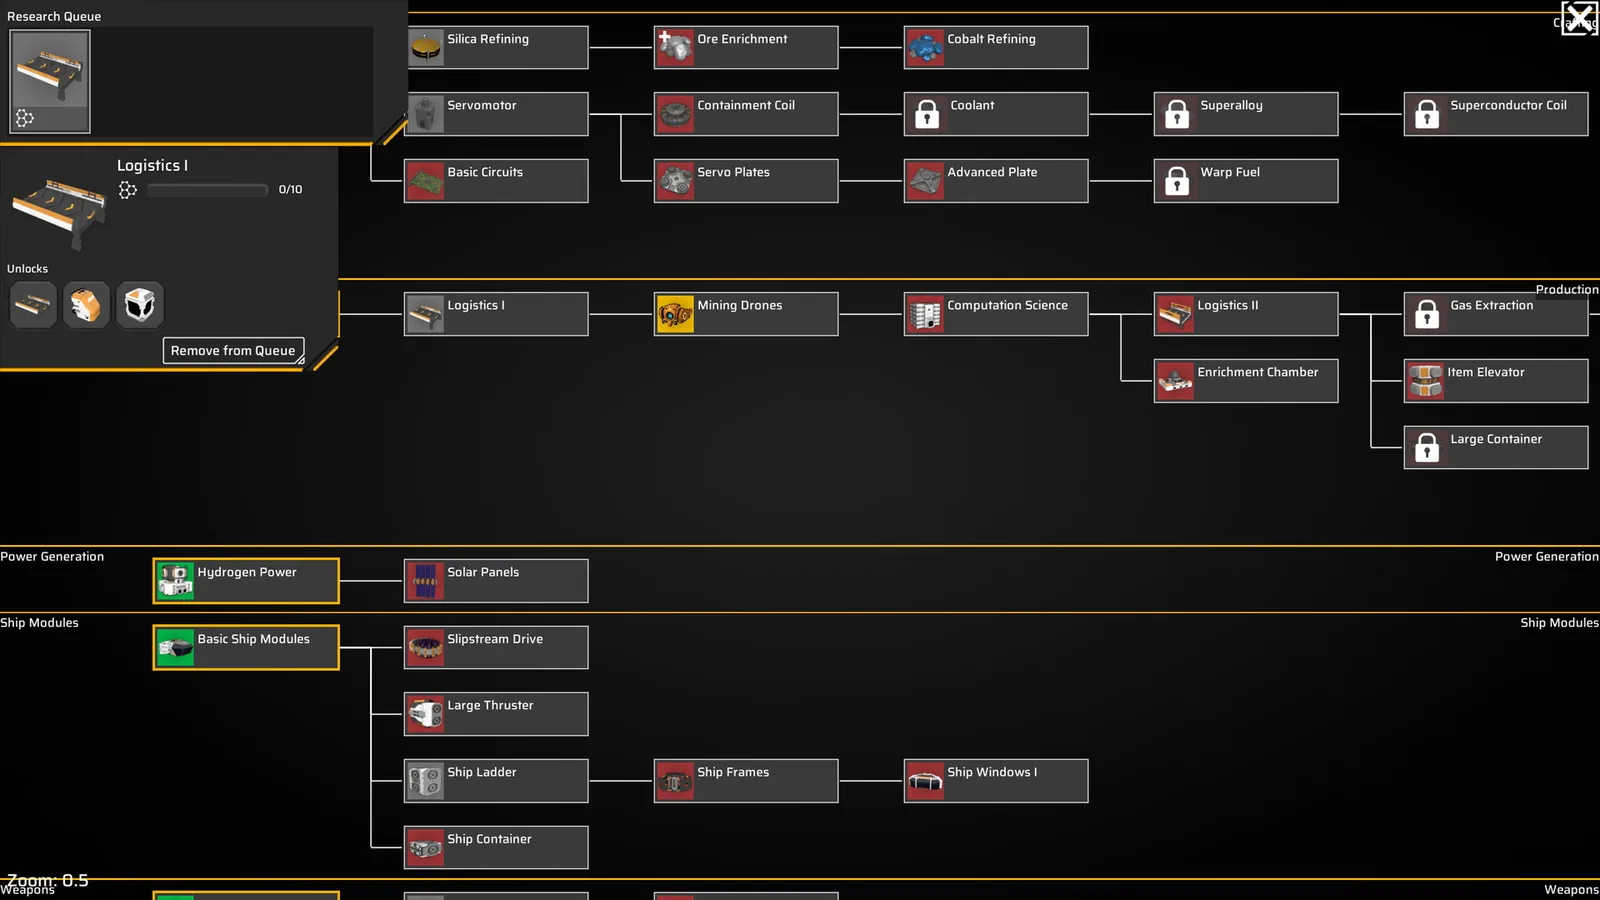
Research unlocks options; it does not create nickel. If your station is starved of plates, the answer is a second mining route or a better drone bay, not Computation Science. The tech tree is a multiplier on a working factory and a distraction from a broken one.
The one exception is a hard gate: Slipstream Drive requires Shipyard and Enrichment Chamber, so you may need to push a tier to reach a new resource field. Even then, fix the input chain before you build the drive.
11. Keep a “cold” container for every science item
Science items are easy to spend and annoying to replace. Labs consume them, and a research queue that runs dry mid-tier leaves you with idle labs and no visible reason. Keep one container per science type, set the lab to pull from it, and refill the container from production rather than letting the lab pull directly from the line.
This also gives you a buffer for the relic branch, where shards and relics compete for the same storage space.
12. Stop expanding when the frame rate drops
This is a practical tip rather than a game rule. Large stations with many belts and drones cost performance, especially on the minimum-spec GPU. If the frame rate falls during construction, the station has outgrown what you can comfortably manage. Consolidate, remove redundant belts, and build the next block at a second station instead of piling everything into one.
A second station with its own power and its own dock is often cheaper than another twenty modules on the first. It also gives you a fallback if the first station is attacked.
For the full early-game route, see the beginner guide→.
FAQ
What is the single most important tip? Build power before production and leave 30 percent headroom. Most “broken” early stations are just overloaded.
Should I use a main bus? Not on your first station. Use production cells and merge them when a real bottleneck appears.
How many mining drones should I build? One bay is enough for a starter station; add a second when the refinery, not the ore supply, becomes the limit.
Do dock filters apply to ships too? Yes. Configure both sides, and test with a small load before you rely on an automated route.
Official source: Main Sequence on Steam ↗ and the Steam news hub ↗.
Sources
- Main Sequence on Steam ↗ — module and gameplay description.
- Steam news: 21 October 2026 hotfix ↗ — dock and drone bay filter fix.
- Steam news: Next Fest demo update ↗ — research, shield, and co-op additions.
- Main Sequence on SteamDB ↗ — build and patch tracking.