
Main Sequence Combat Guide: Weapons, Shields and Relics
Fight relic machines in Main Sequence: Plasma Cannon and Lance stats, shield math, range control, power budgeting, and the relic progression gate.
Combat in Main Sequence is not a separate game mode. It is the cost of doing business in a galaxy that contains an ancient defence network which classifies your ships as a threat. You can avoid fights for a while; you cannot avoid them forever if you want relic technology.
The combat model is built on the same numbers as the factory: power draw, range, and mass. A weapon that looks good on paper can leave your reactor unable to thrust. This guide covers the confirmed weapons, the shield math, and the tactics that work against relic machines.
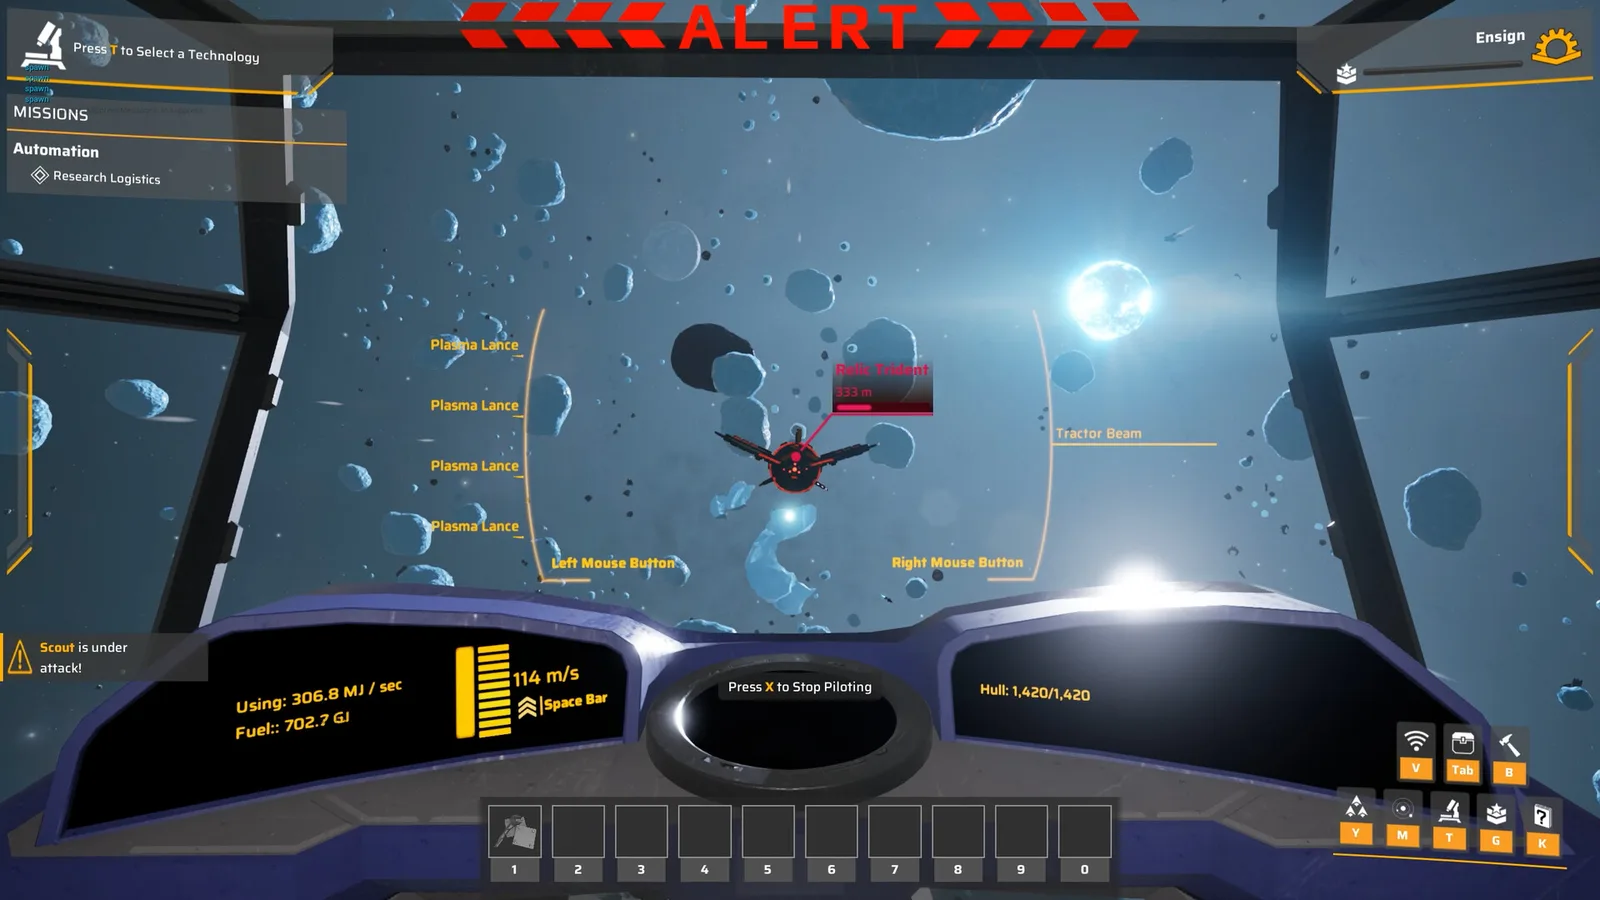
Stay at 600 m with cannons or 1,000 m with lances, and never fire more than the reactor can recharge.
What you fight
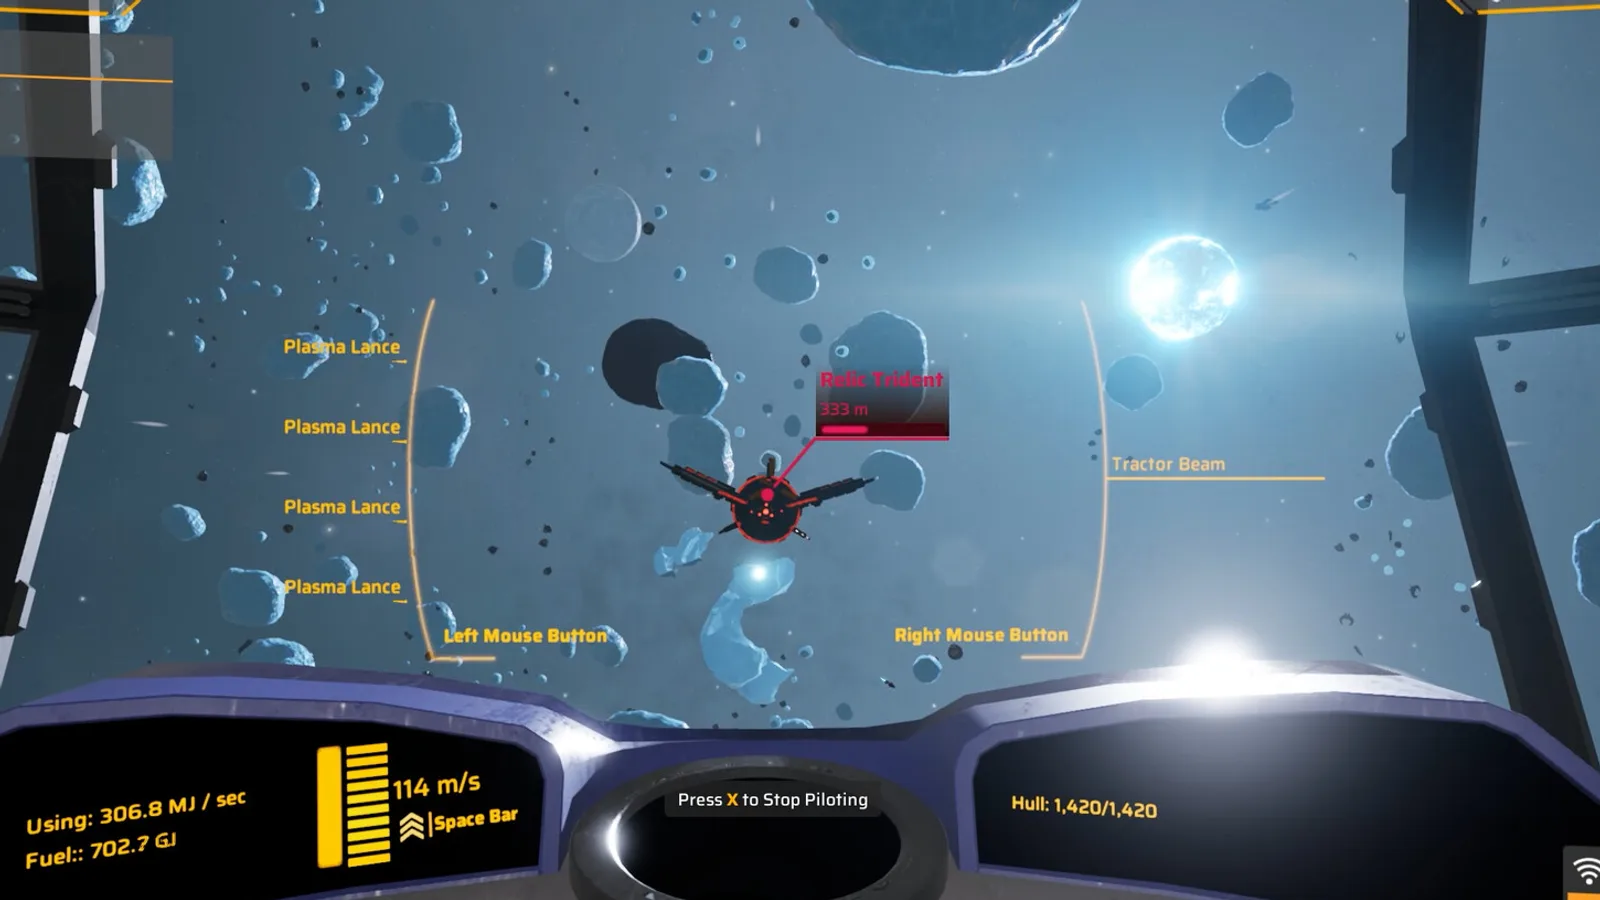
The confirmed hostile faction is the Autonomous Relic Defence System, an ancient network that treats players as intruders. Its ships appear in relic fields and around relic sites. The store screenshot shows a Relic Trident, a 333-metre target, and a player ship taking fire while four Plasma Lances fire back.
Relic enemies are not the only danger. Pirate or faction combat may exist in the full game, but the demo's confirmed combat is against relic machines. Build for that threat first.
The relic progression is also the combat progression. Relic Shards come from destroyed relic ships and wrecks, and they feed the Relic Analyzer. If you want relic modules, you have to fight for the shards.
The weapons you can build
| Weapon | Range | Damage | Power | Cost |
|---|---|---|---|---|
| Plasma Cannon | 600 m | 2 per shot | 2 MJ/shot, 3 MW recharge | 3 Lightweight Frames, 5 Magnetic Coils |
| Plasma Lance | 1,000 m | 20 per shot | 10 MJ/shot, 7.5 MW recharge | 10 Containment Coils, 10 Maglev Couplings |
| Mining Laser | 125 m | 10 dps | 3 MW | 5 Lightweight Frames, 30 Magnetic Coils |
The Plasma Cannon is the early weapon. It is cheap, it draws little, and 600 metres is enough for relic scouts that close in. The Plasma Lance is the anti-capital weapon: five times the range and ten times the damage per shot, at more than twice the recharge. The Mining Laser can damage things at point-blank range, but it is a mining tool, not a weapon.
Missile Launchers and Point Defence Lasers are visible in the technology tree but locked in the demo. Do not plan a build around them for launch day; plan around cannons and lances.
Shields and armour
The Shield Generator Mk.1 costs 3 Lightweight Frames and 8 Capacitors, provides a shield capacity of 10, regenerates 0.5 per second, and draws 3 MW. That is a small shield. It absorbs a few cannon hits, then it is gone until it regenerates.
Armour is separate. Station Armour costs 5 Hull Plates and is a structural module; ship armour uses Reinforced Plates. Armour does not regenerate, but it does not draw power either. The practical mix is a shield for skirmishes and armour for the hull sections that face the enemy.
Do not armour the whole ship. Armour the nose, the reactor, and the bridge. A ship with armour everywhere is a slow ship that still dies when the shield drops.
Power is the real weapon limit
Combat power math:
- Four Plasma Cannons: 12 MW recharge.
- Four Plasma Lances: 30 MW recharge.
- Shield: 3 MW.
- Thrusters: 6–12 MW.
A Small Reactor produces 24 MW. That supports four cannons, a shield, and light thrusters. It does not support four lances. The store screenshot's combat ship reports 306.8 MJ per second while firing four lances, which is a large-reactor build.
If your reactor cannot keep up, the weapons fire slower. The UI does not always make this obvious; you see fewer shots, not a red warning. Check the recharge draw before you add a third lance.
Range control
The Plasma Lance outranges the Plasma Cannon by 400 metres. That is the whole tactical game against relic ships: stay at 900–1,000 metres if you have lances, close to 500 metres if you only have cannons.
At long range:
- Your shots travel, so lead the target.
- The enemy's return fire may still reach you; relic weapons are not all short-range.
- Your own thrust matters more; a miss costs a second shot.
At close range:
- Cannons hit more reliably.
- The enemy's close-range weapons become accurate.
- A shield buys seconds, not minutes.
For a first fight, close to 500 metres with cannons and kill the scout before it circles. For a relic capital ship, stay at lance range and strafe.
A first combat build
The cheapest combat hull that works:
- Gallant hull, or a Prospector if you are desperate.
- Small Reactor.
- Two Plasma Cannons.
- Shield Generator Mk.1.
- Armour on the nose.
- Small cargo for shards.
This ship can kill relic scouts in a one-on-one. It cannot solo a Relic Trident. Do not try. The Trident is a group target or a later-game target.
A heavier build:
- Gallant or larger hull.
- Large Reactor.
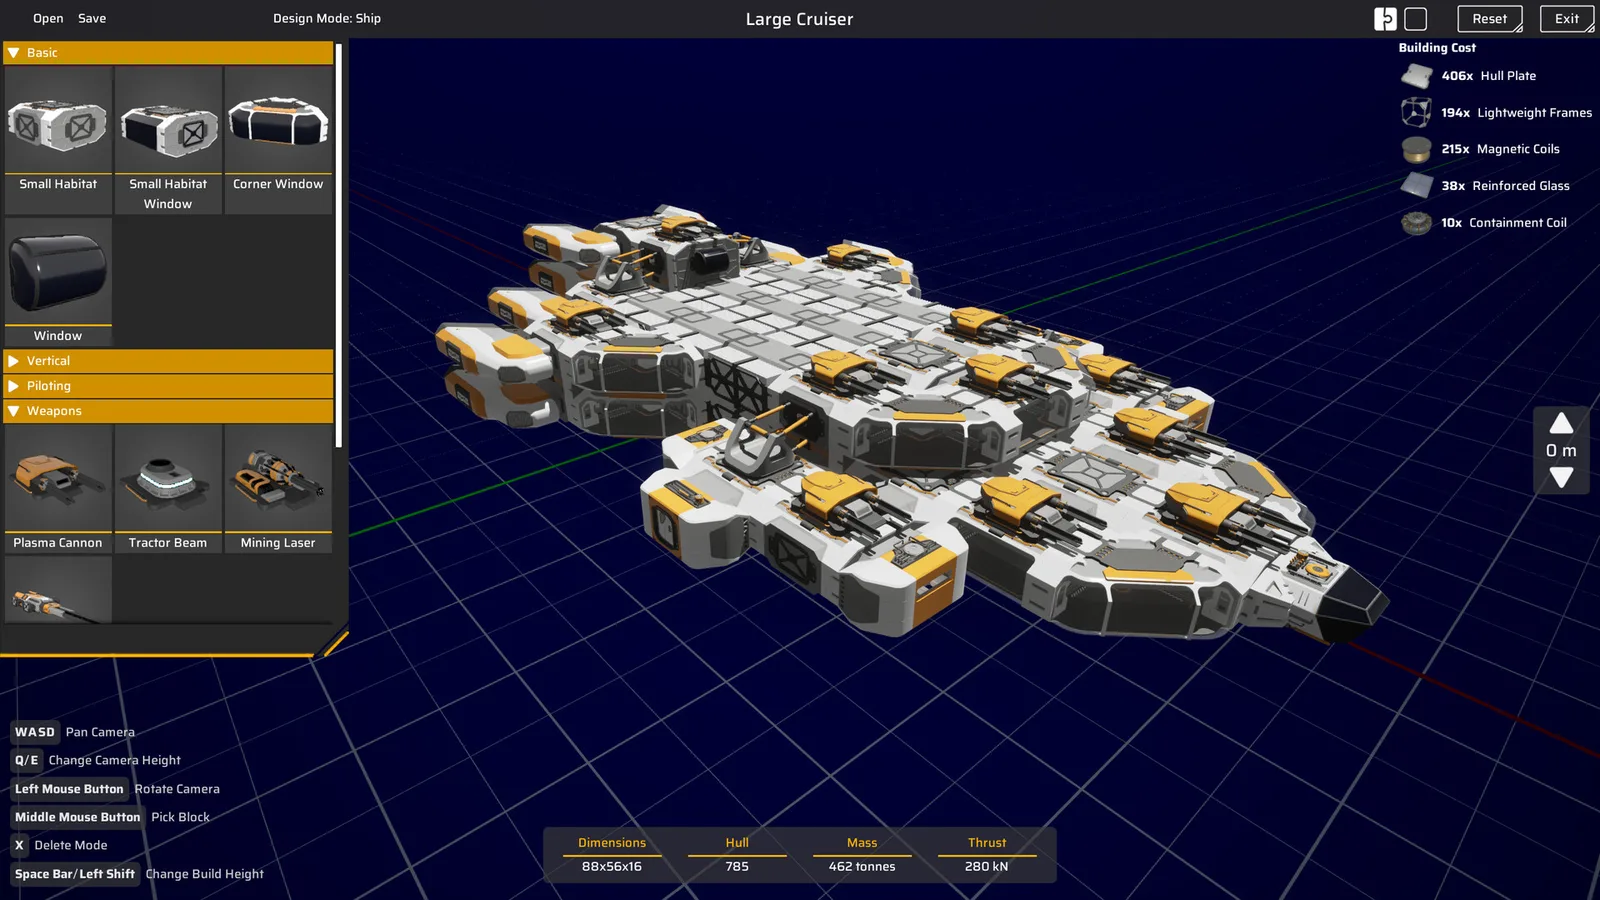
- Four Plasma Lances.
- Shield Generator.
- Armour on nose and reactor.
- Point defence when it unlocks.
This is the ship in the store screenshot. It is expensive; build it after your plate supply is stable.
Tactics that work
- Fight near your station. Station defences and repair access shorten the recovery loop.
- Bring a second ship. Two cheap ships beat one expensive ship when the enemy focuses fire.
- Kill the small ones first. Scouts are fast and annoying; capitals are slow and predictable.
- Watch the shield, not the hull. When the shield drops, disengage and let it regenerate.
- Do not chase into a field. Asteroid geometry blocks shots and hides reinforcements.
- Loot after the fight. Relic Shards are the reason you engaged.
Station defence
Stations can mount Plasma Turrets and Station Armour. A station with no weapons is a fixed target; a station with a few turrets and a shield can survive a scout raid while your ships launch.
Put turrets on the side that faces the approach vector, not on the side that faces the belt. Armour the modules that would stop the factory if destroyed: reactor, command module, and the dock.
If you lose the fight
Losing a ship is a material loss, not a run-ending event, as long as the blueprint and the shipyard survive. Rebuild from the blueprint, replace the cargo, and change one variable: more shield, more range, or a second ship. Do not rebuild the same design and expect a different result.
Relic shards are the reward; the relic guide→ explains what to do with them.
FAQ
What is the best weapon in Main Sequence? The Plasma Lance for range and damage; the Plasma Cannon for cheap early combat.
Can I avoid combat? For a while. Relic technology requires shards, and shards require fighting.
How much shield does a Shield Generator provide? Capacity 10, regeneration 0.5 per second, 3 MW draw.
Can a Prospector fight? It can kill a scout with cannons, but it is not a warship.
Is the Relic Trident soloable? Not with an early ship. Treat it as a group or late-game target.
Official source: Main Sequence on Steam ↗ and the Steam news hub ↗.
Sources
- Main Sequence on Steam ↗ — relic defence network and combat description.
- Steam news: Next Fest demo update ↗ — shield and combat module changes.
- Main Sequence on SteamDB ↗ — build reference.
- Mythwright ↗ — publisher.