
Main Sequence Relic Guide: Shards, Analyzer and Modules
Turn Relic Shards into technology in Main Sequence: how the Relic Analyzer works, relic point costs, Relic Capacitors, thrusters, and the destroyer gate.
Relic technology is Main Sequence's second progression tree. It does not use Material or Computation; it uses Relic Shards recovered from the ancient defence network. The tree is small, expensive, and gated behind combat, which makes it the part of the game most likely to stall a solo player.
This guide covers what the demo's data exposes: how shards become points, what the analyzer costs, and which relic modules are worth building first. Relic costs come from the demo build's data, so treat exact numbers as patch-sensitive.
One shard equals one relic point; the Relic Capacitor at 20 points is the first useful unlock.
Where shards come from
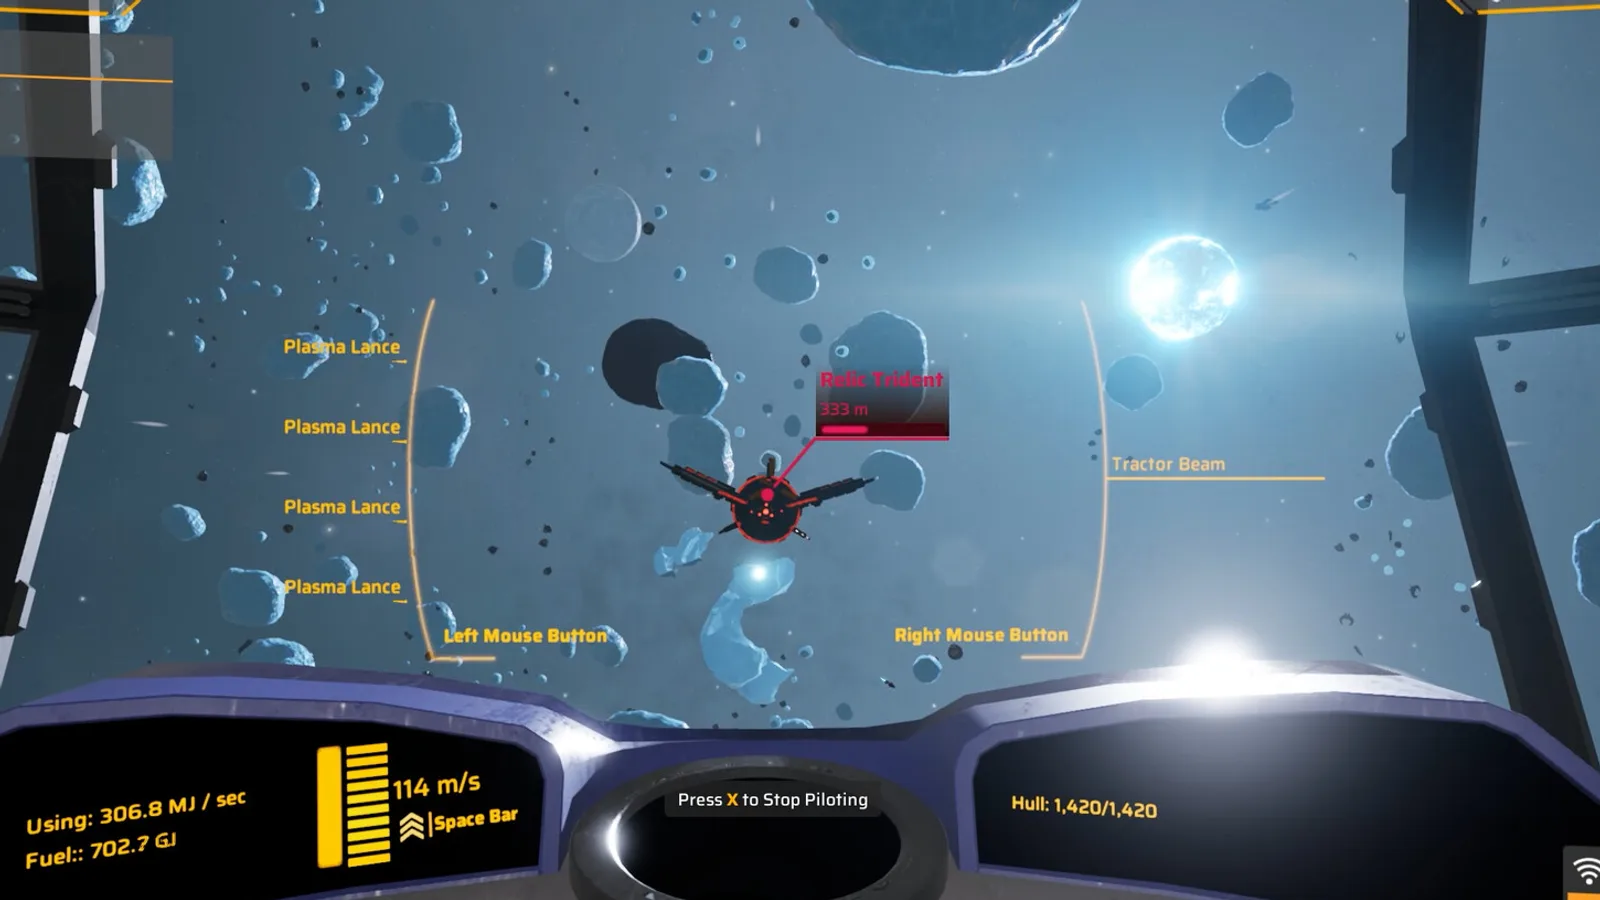
Relic Shards drop from destroyed relic machines and appear in relic wrecks and fields. They stack to 25 per inventory slot, which is a hard limit worth planning around: a long combat run can fill a cargo hold with shards and nothing else.
The loop:
- Find a relic field or a relic patrol.
- Destroy the machines.
- Collect the shards.
- Return to a station with a Relic Analyzer.
- Convert shards into relic technology points.
- Spend points on relic modules.
Shards are not useful in a container. They have to be analyzed. A station with no analyzer turns every shard into dead cargo.
The Relic Analyzer
The Relic Analyzer is the conversion building:
- Cost: 2 Lightweight Frames + 5 Relic Shards.
- Power: 12 MW.
- Function: consumes shards and produces relic technology points.
The exchange rate in the demo data is 1 shard = 1 relic technology point. That makes shard collection the bottleneck, not the analyzer's speed. Build the analyzer as soon as you have five shards, and keep it powered; a 12 MW building on a grid that is already at 90 percent will brown out when the refinery cycles.
Place the analyzer next to your research block. It is a research building, not a production building, and it benefits from the same power and logistics discipline.
Relic point costs
The demo data lists these relic unlocks:
| Module | Relic points | Notes |
|---|---|---|
| Relic Capacitor | 20 | 1 Capacitor + 1 Relic Shard, 4 s → 15/min |
| Small Relic Thruster | 30 | Ship thruster, 9 MW |
| Relic Core | 200 | Unlocks the Relic Synthesizer |
| Relic Synthesizer | 200 | Tier 3 building, 1 Relic Core + 5 Reinforced Plate + 5 Superconductor Coil |
The Relic Capacitor is the first useful unlock. It costs 20 points, which is 20 shards, and it turns a Capacitor plus a shard into a relic capacitor at 15 per minute. That is a real production line, not a one-off module.
The Small Relic Thruster at 30 points is the first relic ship module. It draws 9 MW and costs 10 Hull Plates and 5 Relic Capacitors. It is not better than a standard thruster in raw thrust; its value is in designs that need relic technology for other reasons.
The Relic Core and Synthesizer at 200 points each are the long-term goal. They gate the relic production chain and are the reason to keep farming shards after the first few unlocks.
The destroyer gate
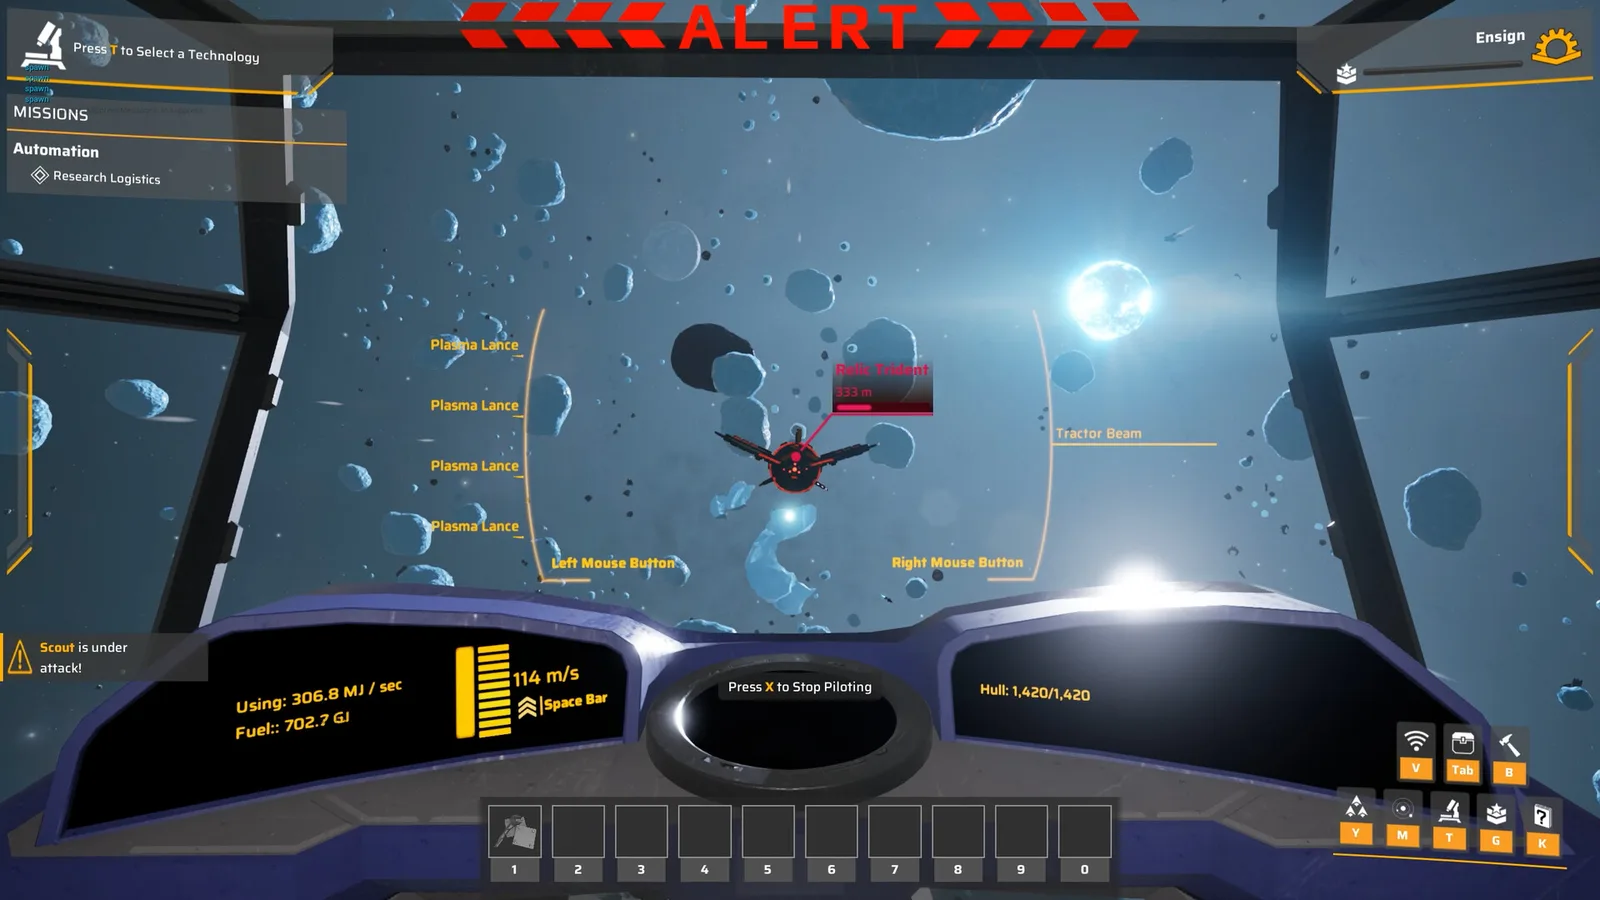
Community sources say the Relic Destroyer must be defeated before the Interstellar Warp Drive becomes usable. That gate is not confirmed on the Steam page or in the demo's public description, so do not treat it as a hard requirement until you see it in your own save.
What is confirmed is that Interstellar Warp Drive is a tier 4 technology costing 200 × 4, and that relic technology is a separate branch. If the gate exists, the intended path is: build a combat fleet, kill the destroyer, collect the core, unlock the synthesizer, and then proceed to interstellar travel.
Plan for the gate even if it turns out to be optional. A player who can kill a destroyer is ready for the rest of the relic tree; a player who cannot is not ready for the fuel chain either.
Should you rush relics?
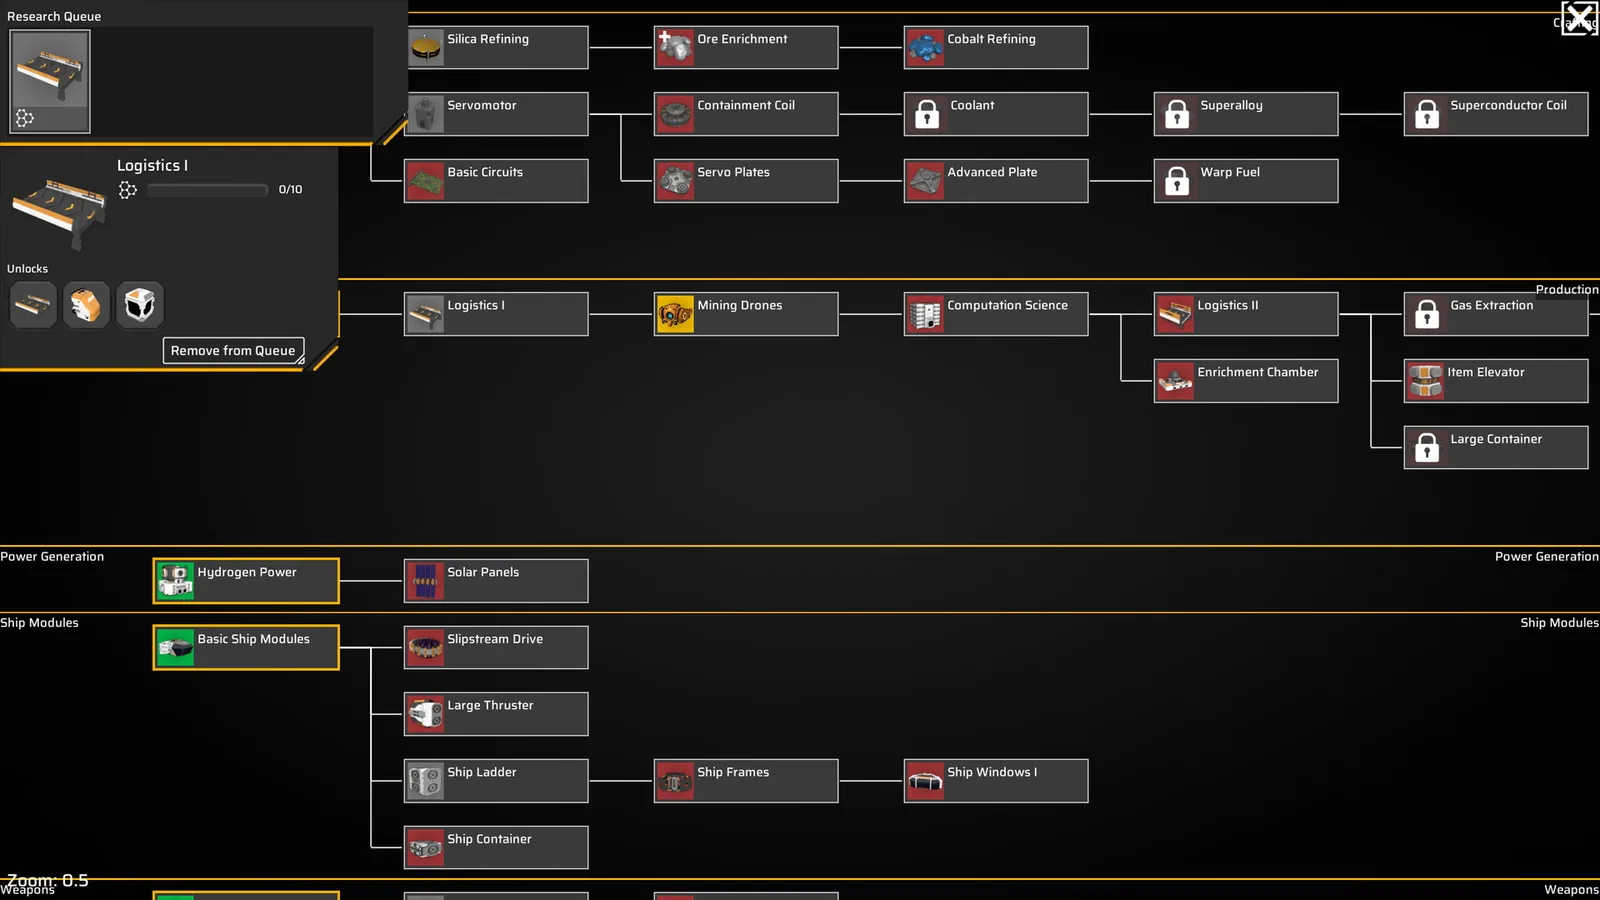
No. Relic technology is expensive in combat time and shards, and the early unlocks do not transform your factory. The main tree's tier 2 and tier 3 technologies (Slipstream, Logistics II, Enrichment) matter more for your first ten hours.
A sensible order:
- Stabilise the factory and power grid.
- Unlock Slipstream and Enrichment.
- Build a combat hull that can kill scouts.
- Start collecting shards passively.
- Build the analyzer and unlock the Relic Capacitor.
- Push toward the Relic Core when you have a fleet.
Relic technology is a parallel track, not a shortcut. Treat it as the reward for solving combat, not as a way to skip the factory.
Storing and transporting shards
Shards stack to 25 per slot, and they are cargo like any other item. A dedicated shard run needs:
- A ship with cargo space and a shield.
- A route from the relic field to the analyzer station.
- A container at the analyzer station that accepts only shards.
Do not mix shards with ore on the same hauler. The filter will either block the shards or fill the ore container with them, and both outcomes waste a trip.
If you need a hull for the next fight, the ship builds guide→ has a combat loadout.
FAQ
How do I get Relic Shards? Destroy relic machines and recover shards from wrecks and fields.
What does the Relic Analyzer do? Converts shards into relic technology points at 1:1.
How many shards does the analyzer cost? 5 shards plus 2 Lightweight Frames.
What is the first relic unlock? The Relic Capacitor at 20 points.
Is the Relic Destroyer required for warp? Community sources say it gates the Interstellar Warp Drive; the official page does not confirm it.
Official source: Main Sequence on Steam ↗ and the Steam news hub ↗.
Sources
- Main Sequence on Steam ↗ — relic defence network.
- Steam news: Next Fest demo update ↗ — relic and technology changes.
- Main Sequence on SteamDB ↗ — demo build reference.
- Mythwright ↗ — publisher.